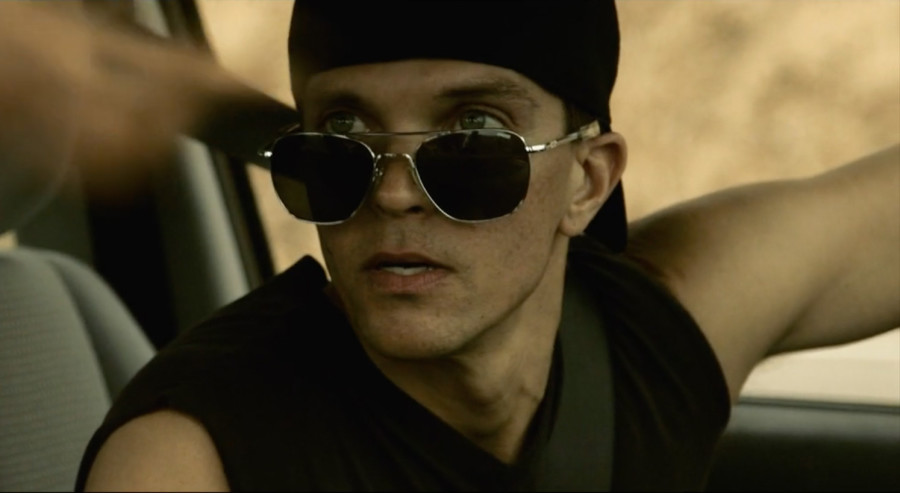
Update: The Mechanic just passed the first round of Project Greenlight and is now running! Wish me luck…
A few days ago I wrote an article explaining why I chose to shoot my latest short film on the C100and I own and have access to many other cameras (including RED EPIC and Blackmagic Cinema Camera). If you haven’t read this article yet, in a nutshell, it comes down to efficiency. The project’s budget was exactly $0 and the need for a very quick turnaround prompted me to choose a camera and format that would allow the on-set and post-production work to run smoothly.
The film took one afternoon to write, about five hours to shoot, and one day to edit. Unlike most of my projects, which have at least a skeleton staff, this production has basically no staff at all. The only people on the set were myself, my girlfriend (who produced with me) and the two actors. No makeup artist, no sound engineer, and no license! In all my years of shooting, I’d never shot any of my own films within such a limited scope, but ultimately it was really the only way this project could come to fruition. I would also like to point out that if I had tried to do this without experience working with the right staff, I would never have been successful. I know where I can and cannot take shortcuts and make sure I work within those parameters.
Below I’ll give you a brief overview of my production and post-production process, but first the film:
Production
It took us just under 5 hours total to shoot this, and actually we probably only shot about 3 and a half hours because we spent some time earlier in the day getting the gear ready and setting up the audio. I shot the entire video using a Canon C100 and a 24-105mm F4 L-series zoom lens, except for one photo taken with a Tokina 11-16mm F2.8. While I usually prefer to shoot with prime lenses, this was not possible given the nature of the shoot and the fact that we needed to be very light. I would also have preferred to use an external recorder (like a Ninja), but ultimately decided to record internally to ensure that the camera structure remained small and unobtrusive and that there was one less variable to worry about on set. I was impressed with the C100’s performance, even using the internal codec which only records at 24mbps. It really helped that I shot everything in flat theater mode.
Audio settings are also very simple. Two wireless lavaliers connect directly to my Zoom H6, and I also use the internal mics to roll reference audio on the C100. I decided not to even add a slate while filming because it would draw too much attention, so I just rolled the audio and video without the slate and manually synced everything in post. Overall, the audio is pretty tricky, as the environment is supposed to be desolate, but in reality there are cars and people passing by every few minutes. Still, I was able to mix and match audio from different shots to help sell the feel of the environment.
Post-production
Like the rest of the process, I needed to release quickly. I edited this in FCP X because I knew it would allow me to work very quickly and also provide all the organizing tools I needed within the software. In fact, I never actually left FCP X during the entire post-production process, except for the final color channel I ran through FilmConvert. I was able to edit offline in a few hours and then move directly to sound. FCP X actually has some very powerful sound plug-ins/effects, even if they are a bit clunky to use. I did the main color work in FCP X, using just the palette, but then exported the image masters to be colored using FilmConvert, as I’ve already mentioned.
All in all, it’s a great way to see what’s possible with no money and very little time. Including writing time, shooting time, location selection time, and editing time, the total did not exceed a few days and lasted about a week and a half. Will I shoot every project this way? Absolutely not, but sometimes it can work well. It’s good practice for larger projects where, for whatever reason, you may need to shoot a scene or two this way!

