

Three shots of the same alley came back from three separate generation passes, and I almost cut them together anyway. One was cool and blue, like the sun had just dropped behind a building. One was warm and a little orange, like a streetlamp had kicked on early. One sat somewhere in between, doing its own thing for no reason I could find. Same prompt, same alley, same night. The clips did not know they were supposed to be the same scene, because nothing had ever told them.
That’s the part beginners miss about AI video: an AI model doesn’t remember the color of the shot before it. Every generation is graded from scratch, based on whatever the model reads into your prompt and its own training defaults, which means a five-shot sequence can come back as five different color palettes unless you actively force them to match. That’s the direct answer to the question this piece exists to answer: you match color across AI-generated clips by locking a color reference before you generate, then using a dedicated color-match pass, a real color-matching tool, not eyeballing sliders, before you ever touch the edit.
Here’s the checklist that got that alley scene, and every scene since, to look like it belongs in one film.
Why does every AI-generated shot come back a different color?
Because a text-to-video model has no concept of “the last shot.” Each generation is its own inference run. The model reads your prompt, maybe a reference image, and produces frames based on patterns it learned from millions of unrelated clips. There’s no shot list in its head, no continuity supervisor checking the previous take. If your prompt says “warm light” for one shot and “moody lighting” for the next, you’ve just told two different stories about the color of your own scene, and the model will happily deliver two different answers.
This is the same failure mode that breaks lighting continuity in AI video, just measured differently: lighting is about theer that light in. You can nail the lighting direction and still end up with clips that clash because one model leans warm by default and another leans cool
A model with no memory of the last shot will never accidentally match it. Matching only happens when a human forces it to.
What should you fix before you touch color grading at all?
Grading can’t repair a prompt problem. If your prompts are vague about color, no amount of post-production will make five clips feel like one scene, because you’ll be fighting the model’s defaults on every single shot. Fix the input first:
- Name the color temperature as a number, not a mood. “Warm light” means something different to every model. “3200K tungsten” or “a cool 6500K overcast” gives the model an actual anchor instead of a vibe.
- Reuse a short palette line across every prompt in the scene. Three to five colors, stated the same way every time. ”Deep black, muted amber, cold blue shadow” works better repeated verbatim than reinvented per shot.
- Attach a reference image when the tool allows it. Most current generators, including Kling, Runway, and Veo, accept a still or a first-frame reference, and a shared reference image does more for consistency than another paragraph of prompt text.
- Generate the establishing wide shot first, then treat it as the reference for every closer angle in that scene, the same discipline that keeps lighting consistent shot to shot.
None of that guarantees a perfect match. It just means the color-matching pass that comes after has less damage to undo.
How do you actually match color across AI clips?
This is where most beginners either skip a real tool and eyeball it in their edit, or assume the AI video tool handles it automatically. Neither works reliably. What actually works is borrowed straight from professional color grading, because the problem AI filmmakers have, footage from inconsistentcolorists have solved for decades
Two tools do this well, and they solve it in different ways:
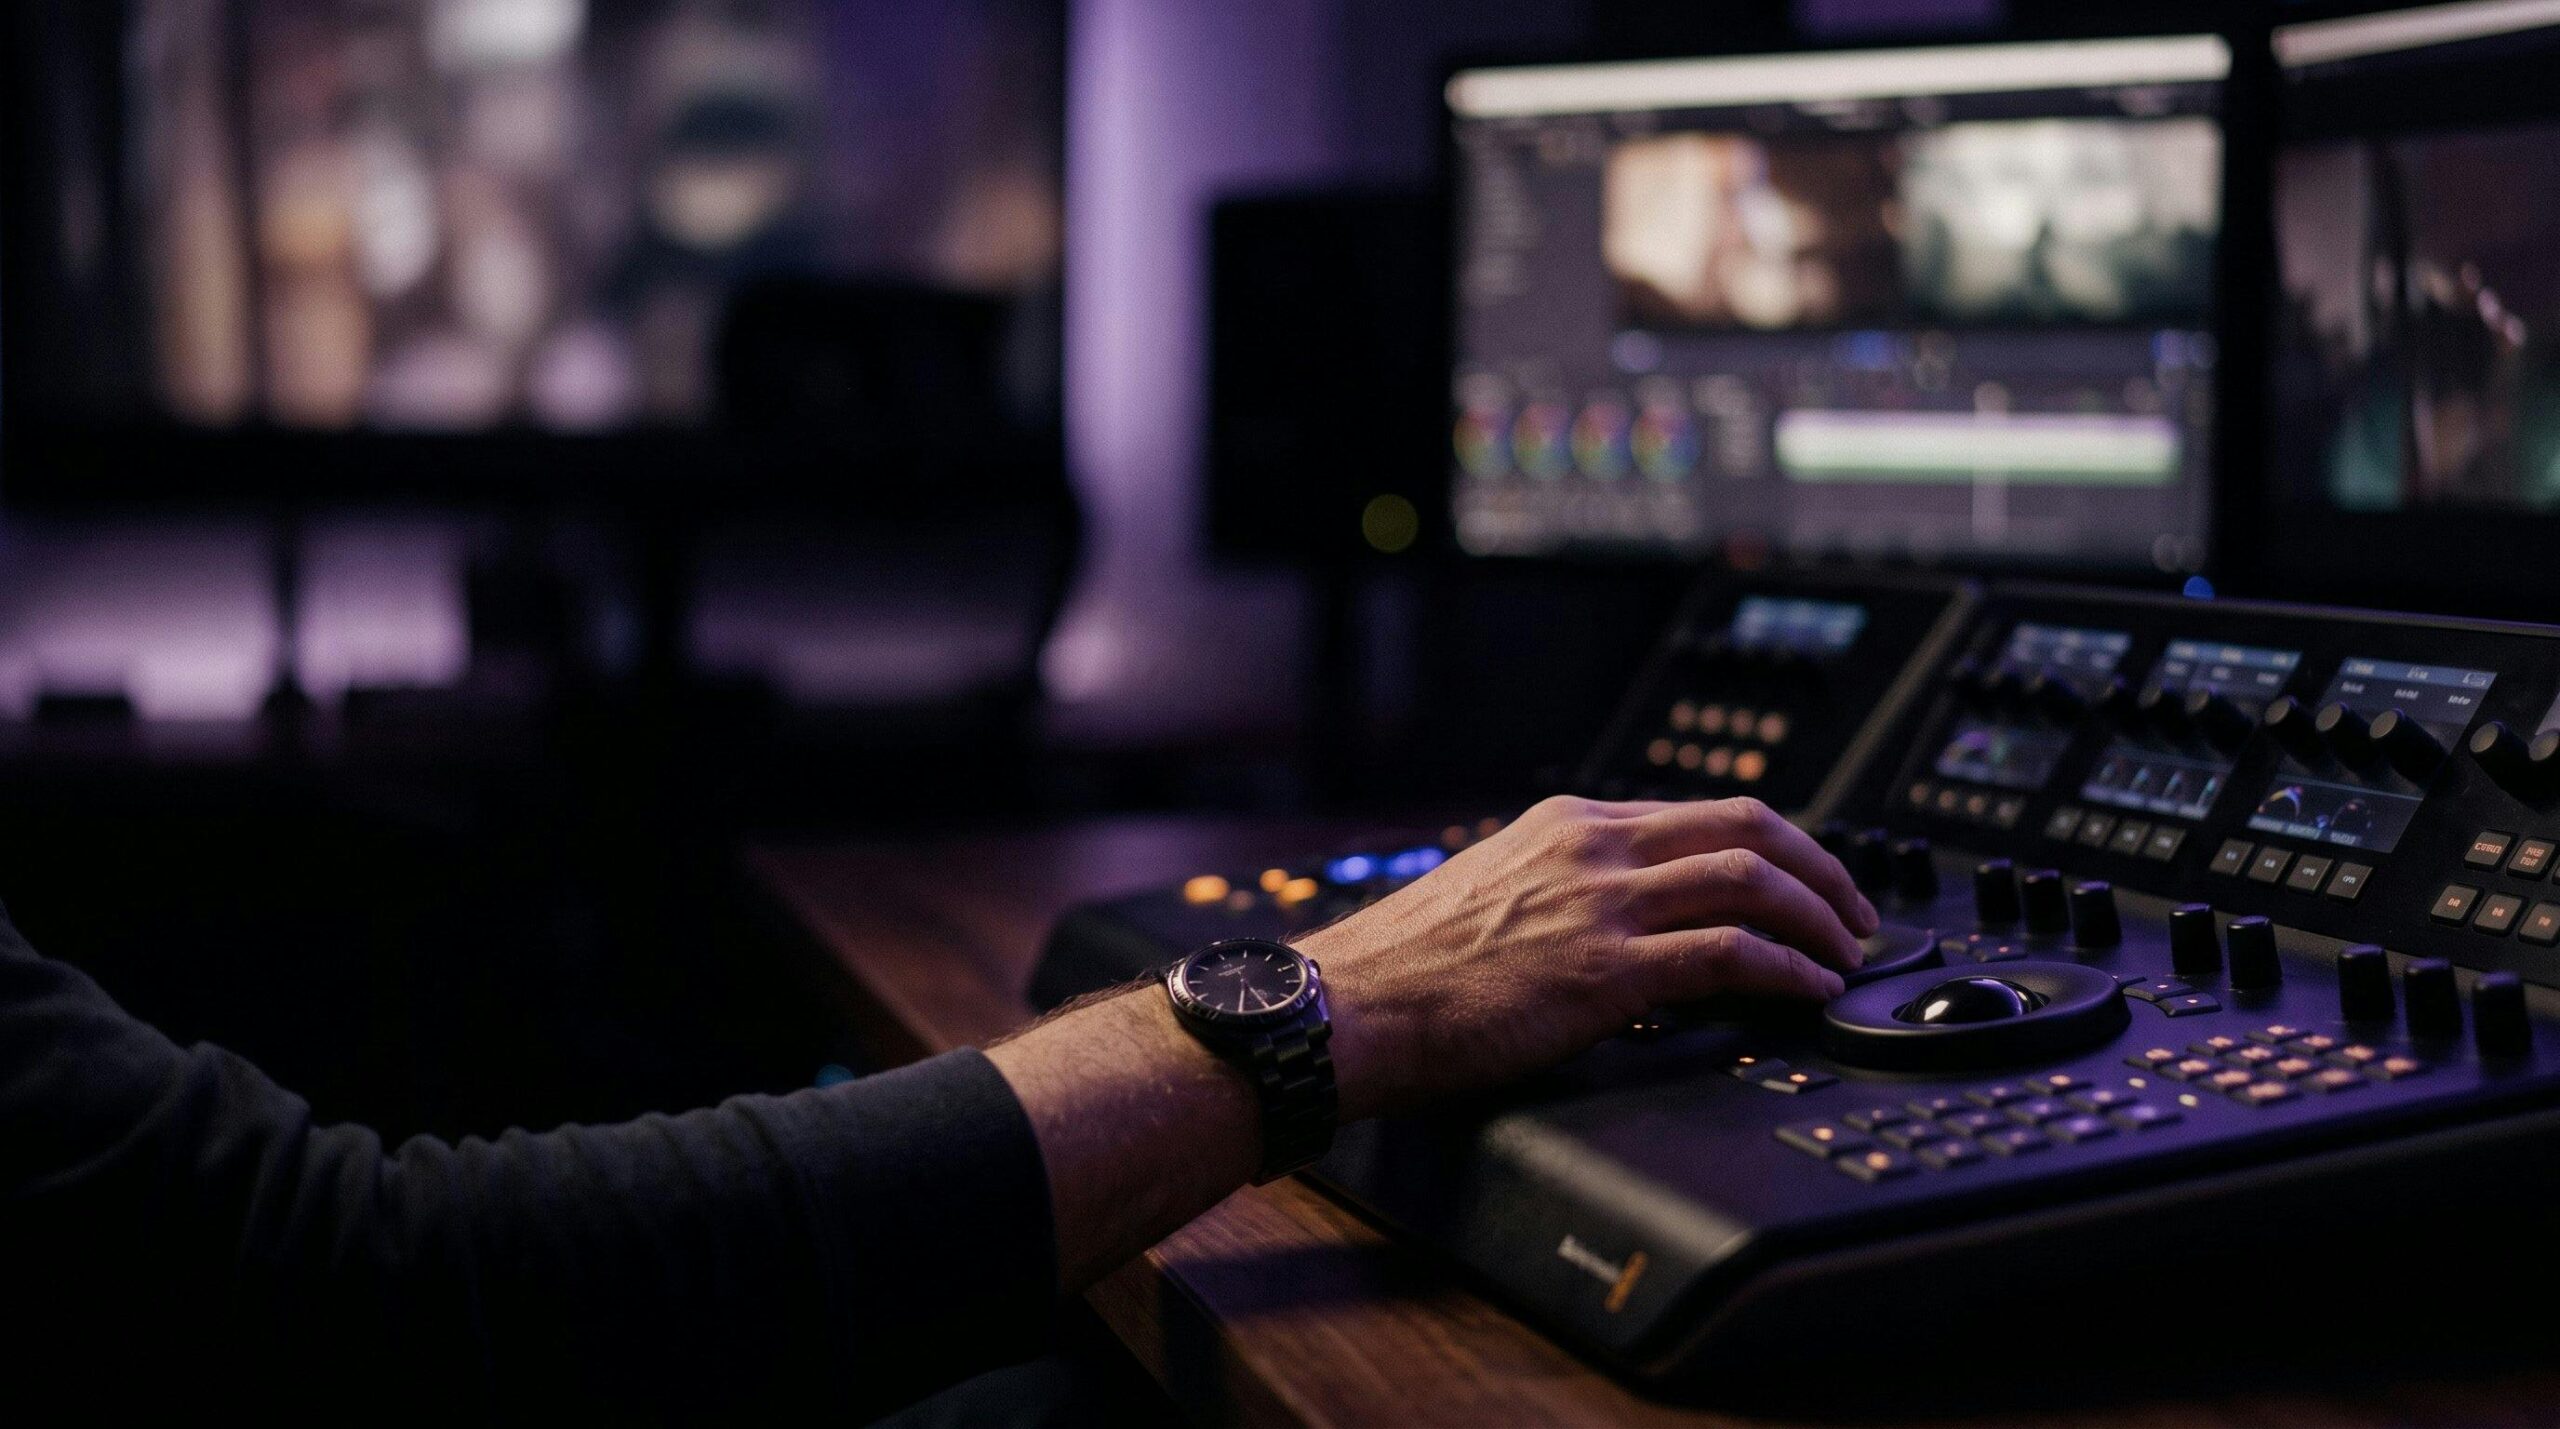
DaVinci Resolve’s Shot Match feature lets you pick a reference clip, right-click it, choose “shot match to this clip,” and Resolve calculates the color difference between that reference and your working clip, then applies a grade that closes the gap automatically. It’s built into the free version of Resolve’s Color page, which makes it the lowest-cost entry point for anyone assembling AI clips from multiple models.
Colourlab AI goes further for people matching a whole sequence at once. You grade one shot the way you want the scene to look, mark it as the reference (Colourlab calls it a “fingerprint”), then select the rest of the clips in that scene and match them to it in one pass, at roughly ten seconds per shot instead of hours of manual trims. For a scene assembled from six or seven separate AI generations, that’s the difference between a color pass that gets done and one that gets skipped under deadline.
Neither tool cares what generated the footage. They’re comparing pixels, not reading metadata about which model made the clip. That’s exactly why they work for AI video: the mismatch you’re fixing is a color problem, not an AI problem, and color problems already have mature tools.
Shot matching works scene by scene. If you’re producing something longer than a few scenes, matching every new batch of clips by hand becomes its own bottleneck. That’s when it’s worth building a single LUT, a look-up table, essentially a saved color recipe, from your best-matched sequence and applying it as a starting point to every new batch of generations before you do any fine matching.
The LUT won’t fix a wildly wrong color temperature from the model, but it puts every new clip on the same general footing, so your matching tool has less distance to close. Think of it as the difference between correcting five wrong answers and nudging five close answers: the second one is faster every time, and it’s the only way color consistency scales past a handful of shots.
A short checklist to run before you cut anything together
- Confirm every prompt in the scene shares the same numeric color temperature and the same short palette line
- Generate the widest shot first and reuse it as the color reference for every closer shot
- Run a real shot-match pass, Resolve’s Shot Match or Colourlab AI, before editing, not during
- Build a LUT from your best-matched scene once you’re producing more than a handful of shots a week
- Review the sequence at full resolution before locking picture; a compressed preview hides color drift the same way it hides warped hands
I keep this list next to the shot log for every scene now, because the alley never should have needed three separate fixes. This is the kind of decision ScreenWeaver is built to hold onto: the color line lives with the shot plan instead of living in someone’s memory, which is where it actually falls apart. Lost Garden is where I learned this the expensive way, one mismatched night scene at a time.
Does prompting “cinematic color grading” fix consistency on its own?
No. It nudges the model toward a more graded look in general, but it doesn’t give two separate generations the same specific palette. You still need a numeric color reference and, ideally, a shared reference image.
Can I match color inside the AI video tool itself instead of in an editor?
Not reliably yet. Generation tools are optimized for producing a shot, not comparing it against another shot’s palette. Dedicated color tools like DaVinci Resolve or Colourlab AI are built specifically for the comparison problem, which is what you actually need.
Do I need Colourlab AI, or is Resolve’s free Shot Match enough?
For a single scene or two, Resolve’s built-in Shot Match is enough and it’s free. Colourlab AI earns its cost once you’re matching whole sequences regularly and the manual clicks start eating real production time.
Is this different from fixing lighting continuity?
Related but not identical. Lighting continuity is about where the light palette that light gets rendered in. You can have consistent lighting direction and still have inconsistent color if you don’t grade for it
