


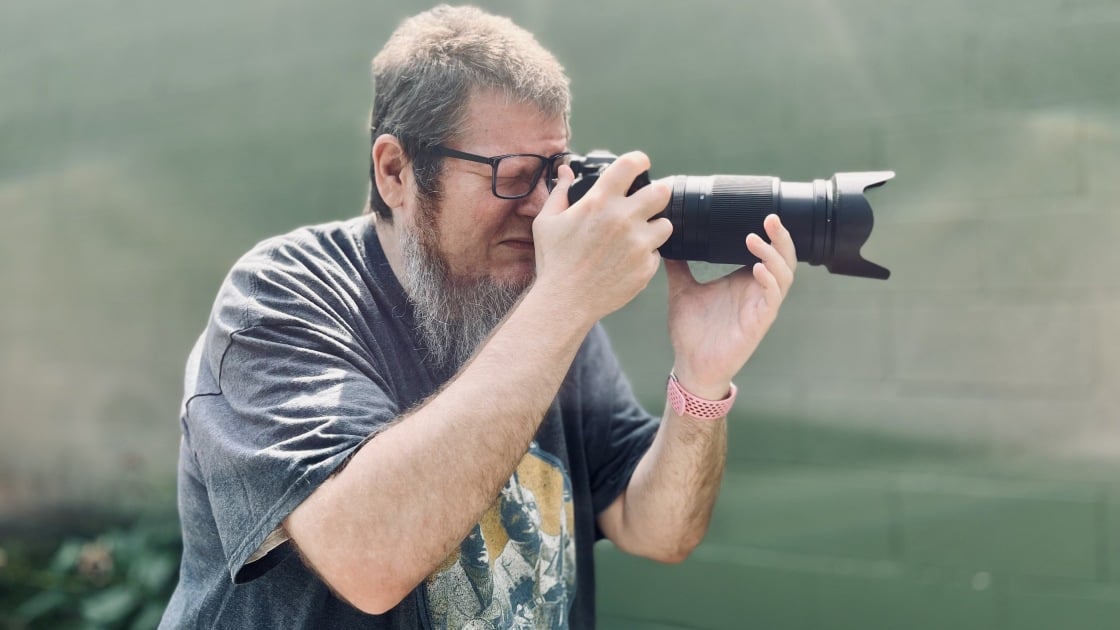
Are you ready to step up your photography to the next level? Regardless of whether you’re just starting out with a camera or if you’ve been taking snapshots for years, there’s always room to learn and grow as a creator. I’ve reviewed cameras at PCMag for 15 years and have taken countless photos in that time. That’s let me try out different techniques, learn from my mistakes, and really get to know how to squeeze the best results out of the newest gear—read on for some of the best tips and tricks that I’ve learned along the way.
1. Learn to Process Raw Images
Digital cameras are set up to record images in an 8-bit JPG format out of the box. These pictures are “developed” from the sensor by your camera’s image processor and leave little headroom to adjust exposure or color balance. They also suffer from lossy noise reduction and compression.
Adobe Lightroom Classic lets you adjust Raw images. The photo of the plane on the left is unedited; the version of the photo on the right is edited to taste. (Credit: Adobe/Jim Fisher)
Almost all interchangeable lens cameras and many advanced compacts support a Raw format, either with 12-bit or 14-bit color sampling. The extra data lets you open shadows to save poorly exposed backlit shots, or apply an artistic color grade to a photo without losing any picture quality.
Raw photos aren’t meant to be shared right out of the camera, however, so it’s up to you to learn how to process them. You’ll need software to do so, but you can start out with the software that came with your PC (Microsoft Photos) or Mac (Apple Photos) to handle the basics. If you like the creative freedom you get with these apps, consider upgrading to a professional workflow application with more features like Adobe Lightroom, Capture One, or Skylum Luminar.
The Best Raw Processors We’ve Tested
Adobe Lightroom Classic Review
- Visit Site at
Adobe
See It
Adobe Lightroom Review
DxO PhotoLab Review
- Visit Site at
DxO US
See It
Capture One Review
- $17 Per Month at
Capture One
See It
Skylum Luminar Neo Review
- $119 for Perpetual Desktop License at
Luminar
See It
One more thing: If you’re nervous about using Raw format, don’t fret. Your camera almost certainly has a Raw+JPG setting that will save each picture in both file types. This takes up more space on your memory card, but is a useful safety net.
2. Move Your Flash Off Camera
Most serious cameras omit an in-body flash, so chances are you’ll end up shopping for an add-on flash soon. On-camera flash is good for filling in shadows when taking portraits outdoors on a sunny day, and more powerful flashguns like the Godox V1 can brighten dimly lit interiors.
The Godox V1 works both on- and off-camera (Credit: Jim Fisher)
With flash, the direction of the light is as important as its power. At minimum, you should get a flash that lets you point its light up, back, or to the side to bounce off of a wall. This will give you softer, more diffused light and help avoid the harsh look of direct flash.
The exposure on the left is taken without flash, while the photo on the right is lit with an off-camera Flashpoint Xplor 300Ws monolight (Credit: Jim Fisher)
But if you want to get fancy, pick up a flash that works with a wireless transmitter. I use Godox R2 TTL transmitters with my cameras and have found them reliable, versatile, and more affordable than high-end options from industry leader Profoto. With an R2 transmitter on my camera, I can simultaneously trigger multiple off-camera strobes with manual or automatic Through the Lens (TTL) power to light a scene.
The Best Off-Camera Lights We’ve Tested
Flashpoint Xplor 100 Pro TTL R2 Review
- $299.00 at
Adorama
See It
Godox V1 Review
- $259.00 at
Walmart
See It
Flashpoint Xplor 300 Pro TTL R2 Review
- $499.00 at
Adorama
See It
I prefer Godox over a first-party solution simply because I can use one set of lights for several brands of cameras. If you end up switching camera brands later on it’s just a matter of switching transmitters, not replacing your entire lighting kit. One note, Godox R2 TTL flashes are also sold under other brand names, and are thankfully cross-compatible. I’ve reviewed several some Godox lights sold under the Flashpoint brand and they work together seamlessly.
3. Try Some Weird Lenses
Lensbaby Composer Pro has a look unlike other lenses (Credit: Jim Fisher)
Chances are you’ve already moved away from your 18-55mm kit lens, either opting for a better quality zoom or a fast prime lens. But if you’re stuck in a creative rut, or just want to experiment with some new types of photography, a specialized lens can really come in handy. You can opt for a super-sharp macro lens that can focus close and fill your frame with small objects. You can also go in the opposite direction and experiment with Lensbaby, a creative lens system that allows you to adjust the plane of focus. They let you create photos that have a sharp point of focus that gives way to soft, swirly dreaminess.
My Favorite Artsy Lenses
Pocket Dispo Pro Review
- $69.99 at
Pocket Dispo$99.99Save $30.00
See It
Funleader x Brightin Star XSlim-M 28mm F2.8 Review
- $296.64 at
Amazon$348.99Save $52.35
See It
Lensbaby Composer Pro II Review
- $399.95 at
B&H Photo Video
See It
Lensbaby Sweet 22 Review
- $179.95 at
B&H Photo Video
See It
Lomography Atoll Ultra-Wide 2.8/17 Art Review
- $499.00 at
Lomography
See It
If you have a mirrorless camera your choices are even more vast. Numerous lens adapters are available that allow you to mount virtually any lens to these cameras for use in manual focus mode. I love using antique lenses with cameras simply because of their character and value.
Use adapters to try classic lenses on new digital cameras (Credit: Jim Fisher)
Check out How to Use Vintage Lenses on Mirrorless Cameras for more ideas. If you want to try a lens before you buy, you can rent online from Lensrentals.
4. Clean Your Image Sensor
Sensor dust. If you use a mirrorless camera, you’re likely familiar, as it’s far easier to get a few specks of detritus on your image sensor versus an SLR, simply because there is no mirror to protect it, so the sensor is exposed when you swap lenses.
Some good practices can help reduce the chance of dust getting onto the sensor. First, make sure the camera is turned off when you change lenses as dust is more prone to stick on a powered, electrified sensor. Some newer, pro-level mirrorless cameras include a shield that protects the sensor when powered down, but most do not, so you should also try to avoid changing lenses outdoors in rough weather.
But even if you’re the most careful, meticulous photographer in the world, you will end up with dust on your image sensor at some point. You might not notice if you use your lenses at wide apertures, but the spots are apparent at smaller f-stops.
Many mirrorless cameras include automatic dust reduction systems that vibrate the sensor to shake smaller particles away, but they’re not foolproof. If you have a dust spot that won’t go away, blowing it off with an air puffer typically works. For more persistent spots, consider a cleaning kit from Visible Dust and Lenspen or, if you aren’t comfortable doing it yourself, a professional cleaning is in order.
5. Throw Away the Bundled Neck Strap
If you’re going to carry your camera around all day, you should do it in comfort. Most mirrorless cameras come with a basic nylon strap without any padding. Even worse, the strap is typically covered with brand logos, so you turn into a walking advertisement, and it attaches using a confounding set of loops and grommets. I’ve been taking pictures for decades, and I still haven’t figured out how to properly secure them.
Peak Design Slide Lite (Credit: Peak Design)
Third-party straps come in all shapes and sizes, so you’ve got freedom to choose between different styles. Some photographers swear by wrist straps; others may prefer a cross-body sling to support telephoto lenses. My favorite is the Peak Design Slide Lite, which is comfortable to wear cross-body and attaches to your camera with a simple loop and anchor.
Sling straps, like those from BlackRapid, are often used by event photographers who carry multiple bodies with heavy lenses attached. They’re a good match if you have a telephoto lens with its own tripod collar, too. I still reach for one when using a big zoom lens.
You can also go the classic route with a wide, fabric strap—readily availabled leather strap like those made in Brooklyn by Tap & Dye
6. Get a Tripod, Monopod, or Gimbal
There are some scenes where holding the camera in your hand doesn’t make the most sense. If you are interested in taking pictures of landscapes, cityscapes, or architecture, a tripod is a handy tool for careful, deliberate composition.
Peak Design Travel Tripod (Credit: Jim Fisher)
A tripod isn’t your only option for camera support. Sports and wildlife photogs who use big lenses and need to move around frequently are better off with a single leg, a monopod, to give arm muscles a rest without sacrificing freedom of movement. And if you’re more interested in video, consider getting a powered gimbal for smooth handheld footage.
Tripods I Recommend
Peak Design Travel Tripod Review
- $599.99 at
Best Buy
See It
SmallRig Carbon Fiber Tripod AP-10 4060
- $139.00 at
B&H Photo Video
See It
Lightweight options like the Peak Design Travel Tripod sacrifice some stability and features in favor of size, but are a great option if you spend more time at airports than at home. Photographers who use heavy telephoto lenses or medium-format gear will want something beefier.
If you haven’t shopped for a tripod before, it’s worth reading my buying guide to help you decide how much to spend and what type to target for your gear and photo interests.
7. Experiment With New Techniques
If you find yourself in a creative rut, or simply bored with the images you’re taking, take it as a sign to move outside your comfort zone. You can make so many types of images with your camera, so try something new if you’re looking for a new challenge.
My first advice is to try different shutter speeds. You can use long exposures (1/4-second or longer) to smooth out flowing water or to add motion blur to moving subjects. If you want to bend time even further, check if your camera has a time-lapse capture mode.
I used a 1/2.5-second shutter speed to blur moving subjects and keep the person standing still in clear view for this photo (Credit: Jim Fisher)
You can also try different angles or scenes. If you usually take landscapes outdoors, consider adding a telephoto for wildlife opportunities. If you often use a macro lens to hone on on the little details, switch over to a wide angle. You should expect some growing pains when trying something new, and perhaps a memory card of images that aren’t up to your usual standards, but missed photos are a part of improving your craft.
8. Fly a Drone
Drones add aerial shots to your portfolio (Credit: Jim Fisher)
You don’t have to just take images when standing on level ground. Adding a drone to your toolkit makes it possible to grab shots from perspectives you’d never be able to get otherwise. Most drones can capture 4K video and Raw format images, and current models are safe to fly (assuming you follow the rules). Check out our top picks in the category.
The Best Drones for Photographers
DJI Flip Review
- $399.00 at
Amazon
See It
Potensic Atom 2 Review
- $299.99 at
Amazon$359.99Save $60.00
See It
DJI Air 3S Review
- $989.00 at
Amazon$1,099.00Save $110.00
See It
9. Print Your Work
It’s easy to share your photos online or view them on a digital picture frame, but if you take a photo you truly love, it deserves to be printed. You can print at home on an inkjet, but for the best results, you’ll want to go with a dedicated printing service.
PCMag’s Michael Muchmore shows off a print of one of his favorite wildlife photos (Credit: Ben Moore)
Many of our favorite photo printing services offer fun ways to display your work, including prints on canvas, metallic paper, and true black and white photo paper for a classic look. You can also opt for a custom photo book, an update on the classic family album with your photos printed directly onto the pages.
The Best Photo Printing Services We’ve Tried
Nations Photo Lab Review
- 40% Off Your Next Nations Photo Lab Order With Code 40PCMAG at
Nations Photo Lab
See It
Walgreens Photo Review
Mpix Review
- 25% Off First Mpix Order at
Mpix
See It
Printique Review
10. Upgrade Your Camera for the Right Reasons
If you’re enthusiastic about your photos, you might be itching to buy a new camera. There are plenty of reasons to upgrade, but you don’t always have to have the latest camera to take good photos. That said, most newer mirrorless cameras include far better autofocus systems and video features versus older DSLRs, so there are good reasons to get a new camera. Before you spend money, ask yourself, “What frustrates me about my current camera?” and make sure a replacement addresses your gripes head-on.
The Best Cameras We’ve Tested
Nikon Z5II Review
- $1,546.95 at
Amazon
See It
Fujifilm X-S20 Review
- $1,399.00 at
Amazon$1,499.95Save $100.95
See It
Panasonic Lumix DC-G9 II Review
- $1,597.99 at
Amazon
See It
Canon EOS R10 Review
- $999.00 at
Amazon$1,099.00Save $100.00
See It
Canon EOS R6 Mark III Review
- $2,799.00 at
Amazon
See It
Sony a7 V Review
- $2,898.00 at
Amazon
See It
Sony RX10 V Review
- $2,298.00 at
B&H Photo Video
See It
For more inspiration and guidance, check out our explainers on photographing lightning and fireworks. If you’re looking for a new camera or lens, be sure to peruse our digital cameras product guide for the latest reviews, and our roundup of the best digital cameras for the top products we’ve tested.
About Our Expert
Jim Fisher
Principal Writer, Cameras
Experience
Images, and the devices that capture them, are my focus. I’ve covered cameras at PCMag for the past 15 years, which has given me a front row seat for the changeover from DSLRs to mirrorless cameras, the smartphone camera revolution, and the emergence of drones for aerial imaging. I have extensive experience with every major mirrorless and SLR system, and am also comfortable using point-and-shoot and action cameras. As a Part 107 Certified drone pilot, I’m licensed to fly unmanned aircraft systems (UAS) for commercial and editorial purposes, and am knowledgeable about federal rules and regulations regarding drones.
Areas of Expertise
Latest By Jim Fisher
- RIP Pentax K: The Camera Line That Made Me Fall in Love With Photography Is Dead
- Why Apple’s New iPhone 18 Pro Camera Still Needs Old-School Accessories
- Insta360 Luna Pro: Is Saving $170 Worth Losing the Ultra’s Best Feature?
- Move Over, DJI: Hohem’s Eyepic 4K Vlogging Camera Has a Massive Twist
- Move Over, Insta360: Dreame’s Modular 8K30 AI Action Cam Launches This Month
- More from Jim Fisher
